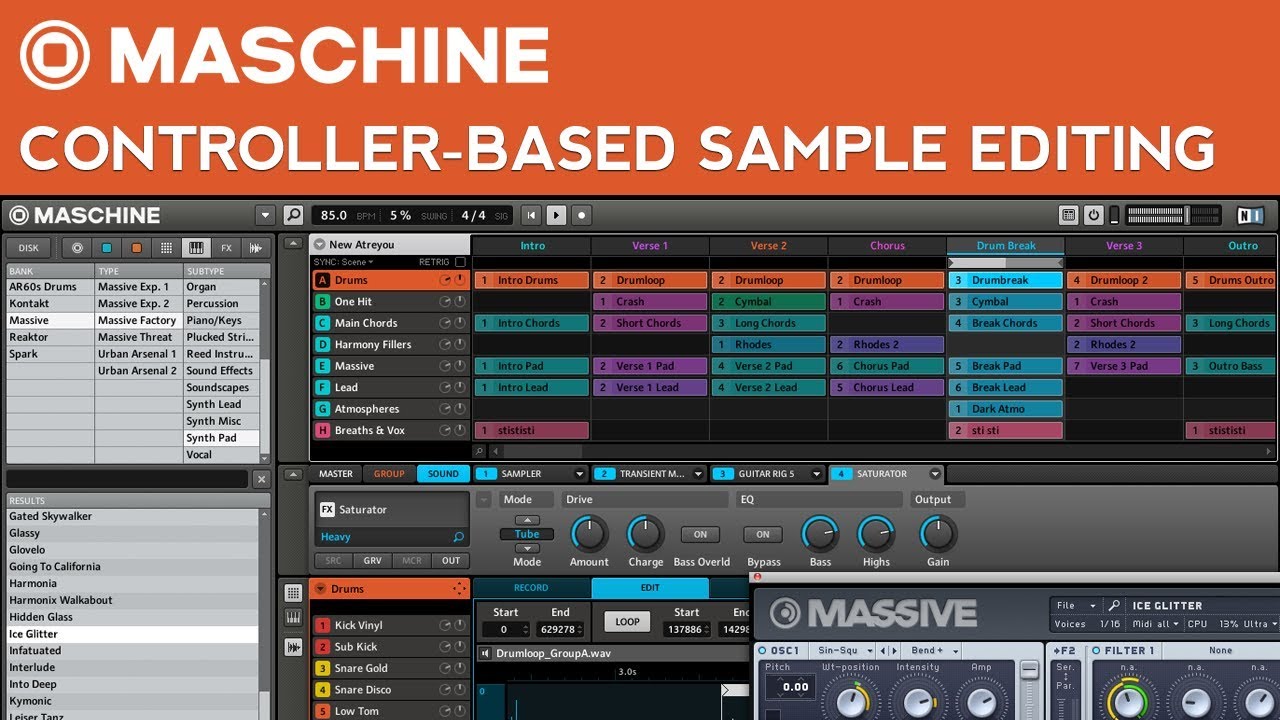
Maschine’s wide array of sample editing features allows you to spend more time creating and less time staring at render bars. Press the Sampling button in the top left corner of the controller to enter sample editing mode. Alternatively, you can press the sample waveform icon underneath the piano roll icon next to the arranger. Once in sample editing mode, you can make changes to the sample in the selected sound slot. Watch this video video tutorial to learn how to use Maschine basic sample editing and more advanced audio editing features.
Maschine has 2 different types of editing functions: Sample and Audio. All of the sample editing functions do not change the actual audio file in any way. The audio editing functions will create a new audio file each time that you use them. These newly created audio files should be located in the same folder as the original sample. You can click on “Open Containing Folder” from the audio editing dropdown menu - found by pressing the arrow next to the same length - to locate them. Be aware that Maschine will not save all of the iterations of an audio file when a project is saved. It will generally only save the ones that are currently in use. You can choose to save the edited sample at any time by selecting “Save sample as” from the audio editing dropdown menu.
Sample Editing Features
- Start - Sets the start point of the sample
- End - Sets the end point of the sample
- Loop On/Off - Turns looping on/off
- Loop Start - Sets the start point of the loop region
- Loop End - Sets the end point of the loop region
- Loop Crossfade - Controls the fade between each repetition of the looped region. By default is set to 0 (off)
- Attack - Adjusts the attack of the amplitude envelope
- Decay - Adjusts the decay of the amplitude envelope
Audio Editing Features
- Truncate - Shortens the sample to the selected region
- Normalize - Adjusts the volume of the selected region to its maximum possible value without distorting
- Reverse - Reverses the audio in the selected region
- Fade In - Adds a fade to the beginning of the selected region
- Fade Out - Adds a fade to the end of the selected region
- DC Fix - Removes the DC Offset. Try using this if there is a click at the beginning or end of your sample
- Silence - Removes all audio from the selected region
- Cut - Cuts the audio in the selected region
- Copy - Copies the audio in the selected region
- Paste - Places the audio from the selected region that was cut/copied into the sample
- Duplicate - Duplicates the audio in the selected region
- Timestretch - Used for speeding up and slowing down audio samples