Maschine Tutorial: How to Timestretch Samples
Focus: Music Production
Software: Maschine
Tags: tutorial
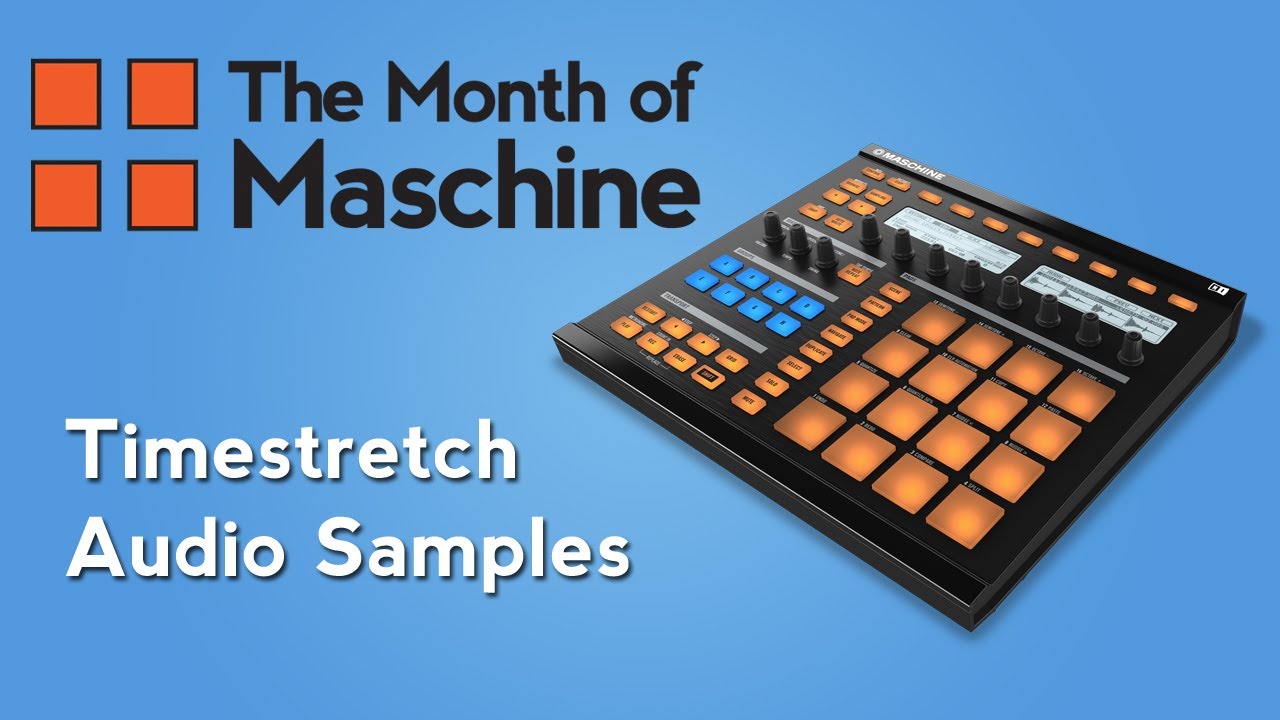
Today is the final day of The Month of Maschine 2013. In this video we’ll be looking at Maschine’s timestretching capabilities. Timstretching was added in the 1.8 update and allows you to change the BPM of a sample. For example, you may want to use timestretching if you created a pattern using one of Maschine’s drum kits and want to add a drum loop sample that is at a different BPM.
To timestretch a sample, first go into sample editing mode by pressing the [Sampling] button on the maschine hardware controller or the waveform icon in the software to the left of the arranger section. Then go to the Edit tab and choose Stretch from the audio editing menu. Alternatively, you can press buttons 5 and 7 on the controller until you get to the Stretch option and then use button 8 to open the timestretching settings.
The timestretch settings are divided into 2 sections: Pitch and Time. In the pitch section you can pitch shift the sample by tuning it up or down by semitones. By default it will be set to 0 which will leave the pitch unaffected. You can also enable Formant Correction will retain the timbre of the sound after it is stretched.
The time section controls how the sample will be stretched. Beat Mode will automatically detect the BPM and bar length of the sample as well as variations for half and double time. You also have the option of changing the stretch length to a different value than the auto detected sample length. If the detected BPM is incorrect, turn off Auto Detection and input the BPM manually. After confirming that the source BPM is set to correctly, you can change the New BPM setting to the BPM that the sample will be stretched to. By default it will be the same BPM as your project.
If you prefer to stretch your sample by a percentage of its speed, you can use the Free Mode option. In this mode you can speed up the sample to as fast as 1000% or slow it down to 10%. When you’re happy with your timestretching settings, click apply at the bottom. Now your sample should play in time with your Maschine patterns. Remember that when you use Maschine’s audio editing features, like timestretching, that you will create a new audio file each time that you use them. This prevents you from making destructive changes to your original samples, but also creates additional files in the directory of the original audio file.