In today’s video I’ll be sharing some tips with you on editing and compressing your video tutorial.
Once you have your video recorded, you’re going to want to edit it. By editing your video you can fix any mistakes that you make and remove any pauses or ummmsss and uhhs that you may have slipped into your recording. Some screen recording programs like Screenflow allow you to edit your videos directly in the app while others will require you to export the video and use an additional applications for editing. Here are a few tips for editing your videos.
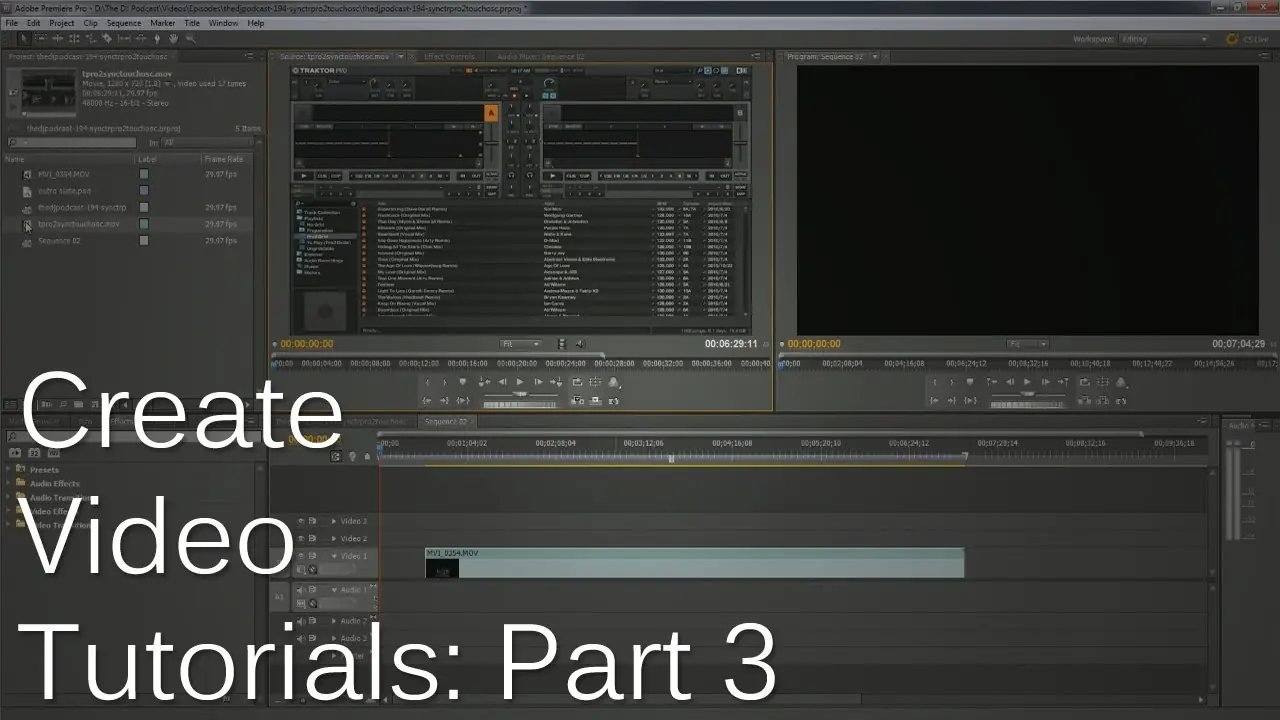
Tip #1: Clap sync
In our previous video I described how I sync a DSLR with a screen recording. Here is how to finish the process. I have 2 clips. One is from my camera and the other is from Screenflow. I’m going to open them up and switch to the audio waveform view. At the beginning of the clip is a sound that is much louder than any other. That is the clap. With the arrow keys I will align the playhead to the frame right before the clap and set the in point there. Then I’ll go to my second clip and repeat the process. Now I will simply line up the beginning of the first clip with the second clip and the two videos will be in sync.
Tip #2: Remove unnecessary umms, uhhs, and dead air
One advantage of editing is that you fix the pacing of your videos. This will help keep the viewer’s attention by reducing the amount of time between what you say. For example, here is an unedited segment of one of my videos. Now let’s watch it again. This time I’ll play the edited version.
Tip #3: Replace audio to fix mistakes
It is easy to make a mistake when recording even the most simple demonstrations. When recording your video, if you say something incorrectly just repeat it as many times as you need until you get it right. In your editing software you can then take the correct video and replace the audio with another take.
After you finish editing your video you need to compress it before you upload it. The standard for video that will go onto a site like Youtube is h264 video with AAC audio. For The DJ Podcast I upload 720p videos at 1.5megabits per second for video and 96kbps for audio. You’ll want to test out a few different settings to find one that you think looks and sounds best. Just remember that the higher you set the quality, the larger the file size will be and the longer it will take to compress and upload.
I hope that you enjoyed this short video series on creating video tutorials.